Before publishing a walk with outdoor stairs, record the steps in each flight, the landings, the handrails and the complete bypass. Put the observed details beside the route directions. Start with the stairs themselves, then walk from the bypass branch to its rejoin point.
Use this worksheet while planning your community event. Take measurements and photographs on the route, then copy the relevant observations into the invitation.
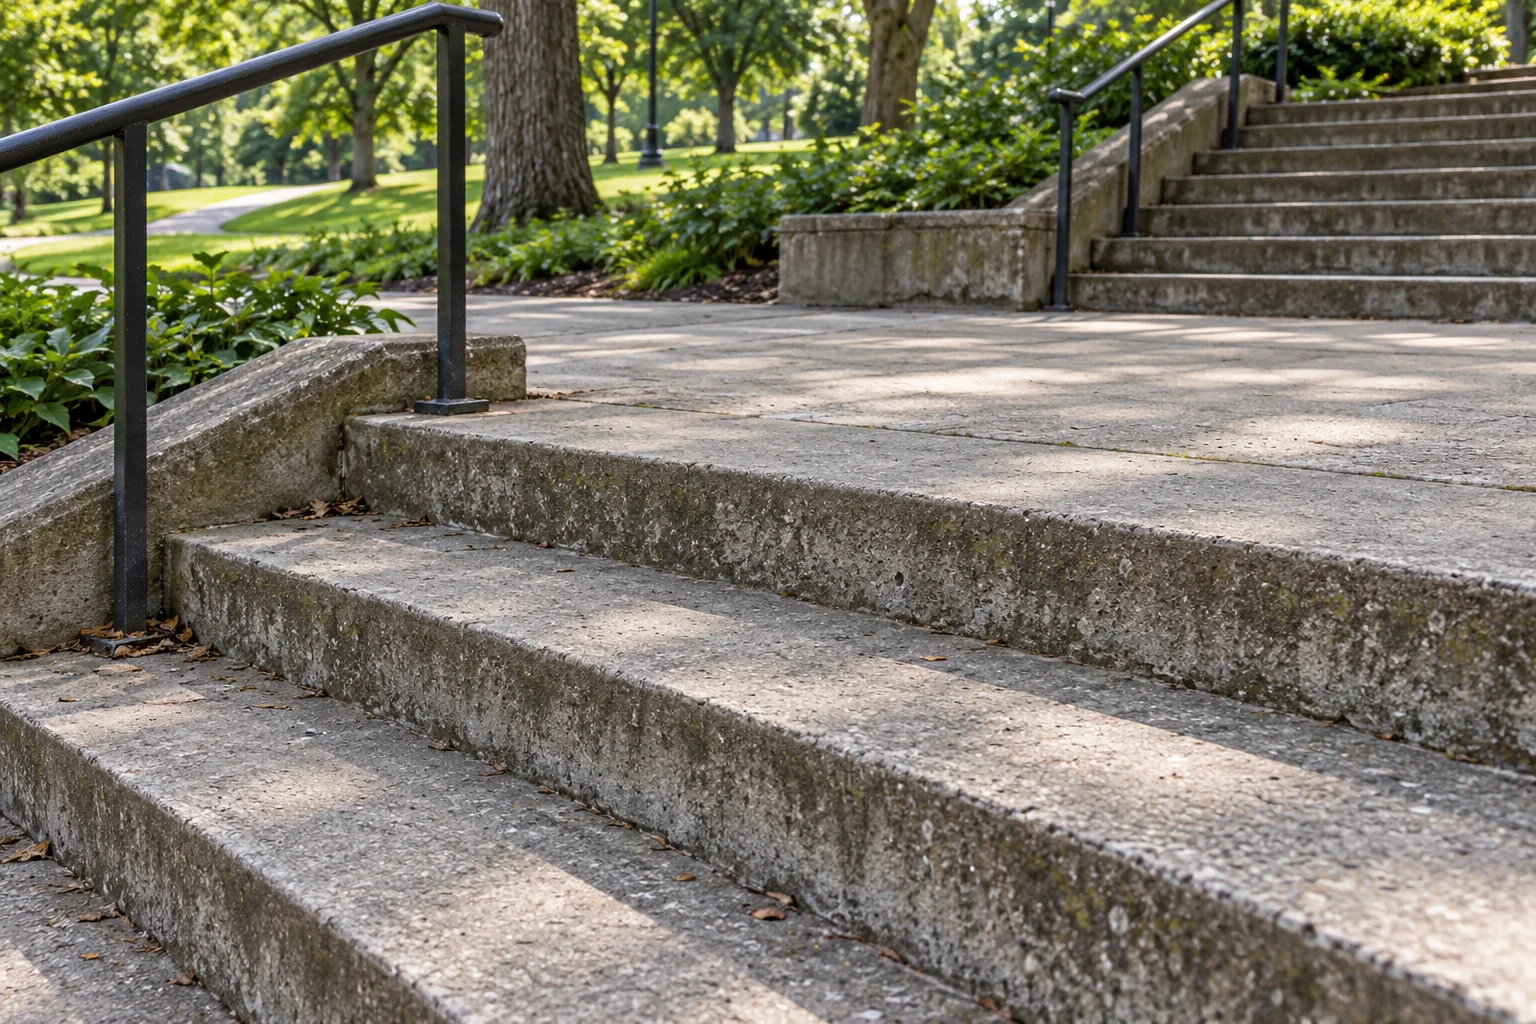
Record the steps and landings
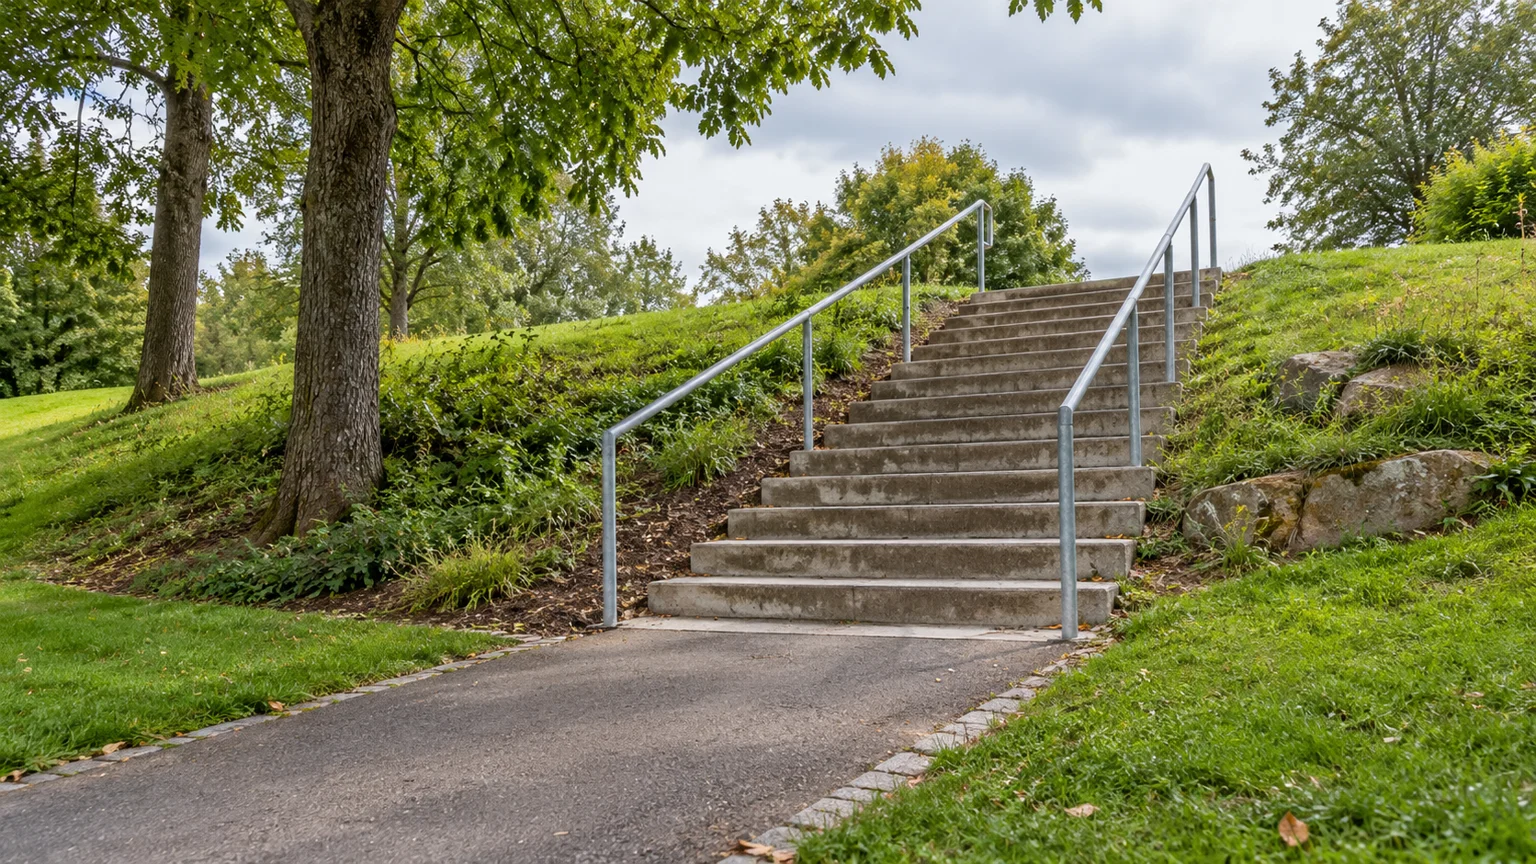
Start a separate record for each stair set. Name the landmark and direction of travel; mark whether your planned walk goes up or down. Count the risers in each uninterrupted flight and record the total separately. Note your counting convention alongside the count.
Measure the rise and tread depth of individual steps, and note any differences. Record the clear stair width and the clear length and width of each landing, including turning landings. Photograph the approach, the steps and the exit.
UK pedestrian guidance: steps and landings
Some people who can manage steps may still experience pain or discomfort, particularly with high rises.
Each step in a flight must have identical height and depth and not be tapered, to minimise tripping.
Top and bottom landings should be unobstructed and at least as long as the unobstructed stair width.
There should be a landing between successive flights.
Use those features as prompts for your field notes: record what you find at this stair set. Mark any obstruction on your sketch and describe the available landing space.
Make an outdoor stair handrail check
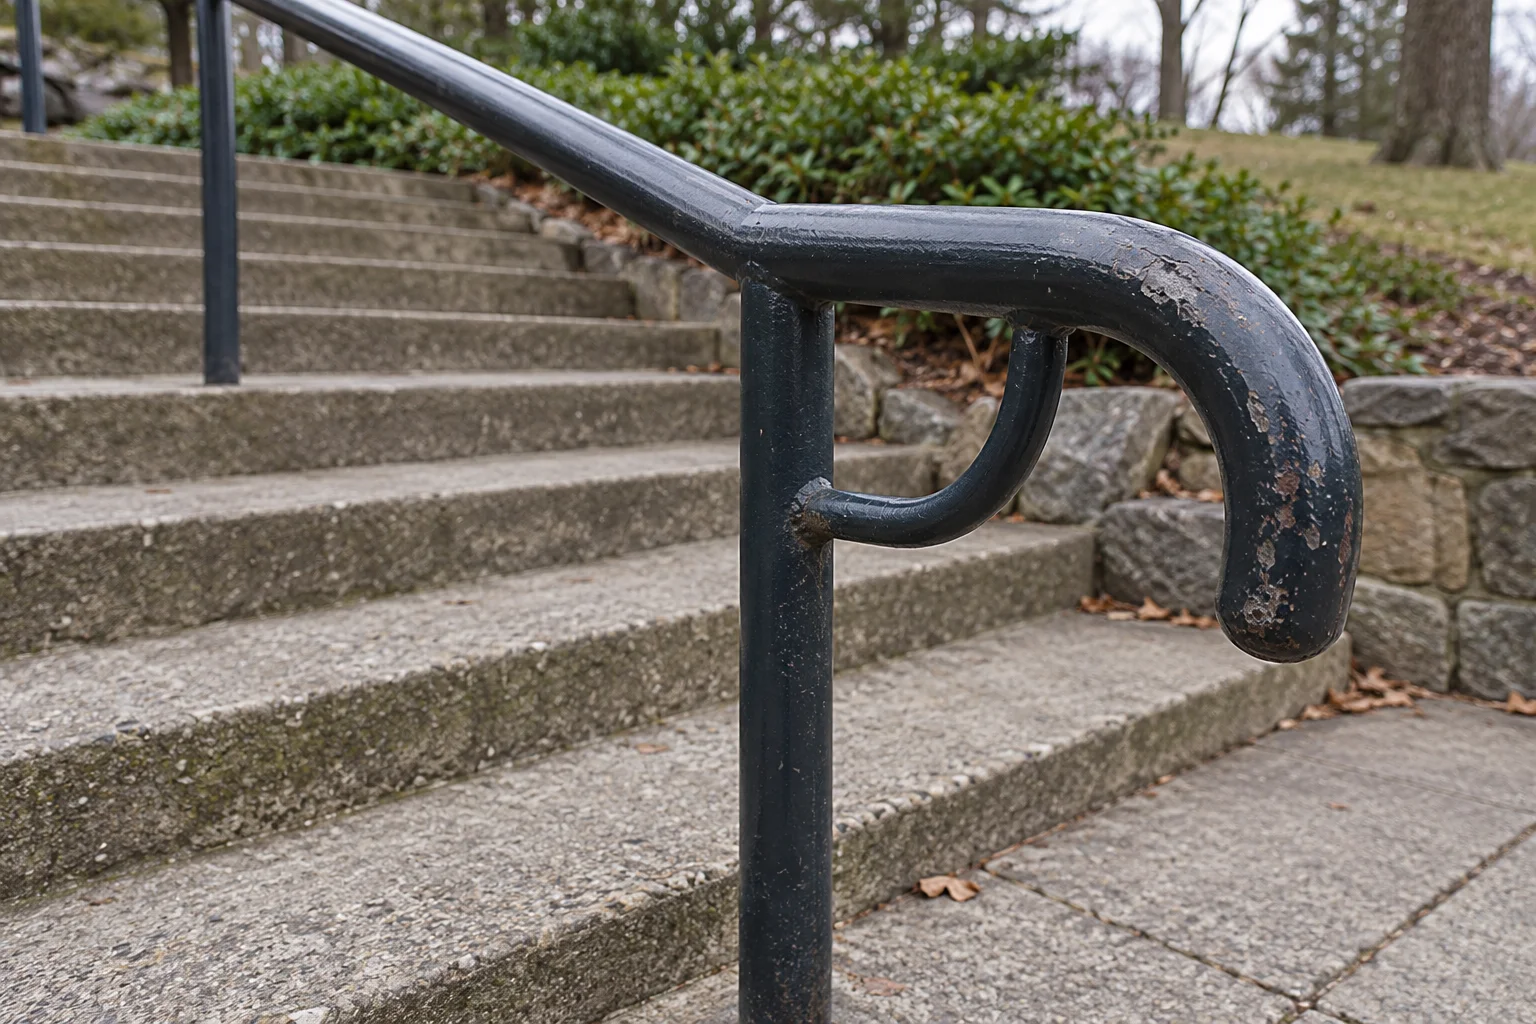
Label the rails left and right relative to your recorded direction of travel. Follow each rail from the approach to the exit. Note gaps along the flight, changes at turns and where the rail begins and ends relative to the end steps.
For each side, record the rail height and the point from which you measured it. Sketch the rail ends rather than writing only “handrails present.” Note any obvious looseness, damaged areas or obstruction to the grip.
UK pedestrian guidance: handrails
Where handrails are provided, a handrail on each side is preferable.
Underside handrail supports should allow unimpeded passage of hands.
Photograph the rail at its start, at the turn and at its end. Include the underside supports in a detail photograph. Keep the observations for each side separate.
Walk the proposed step-free bypass
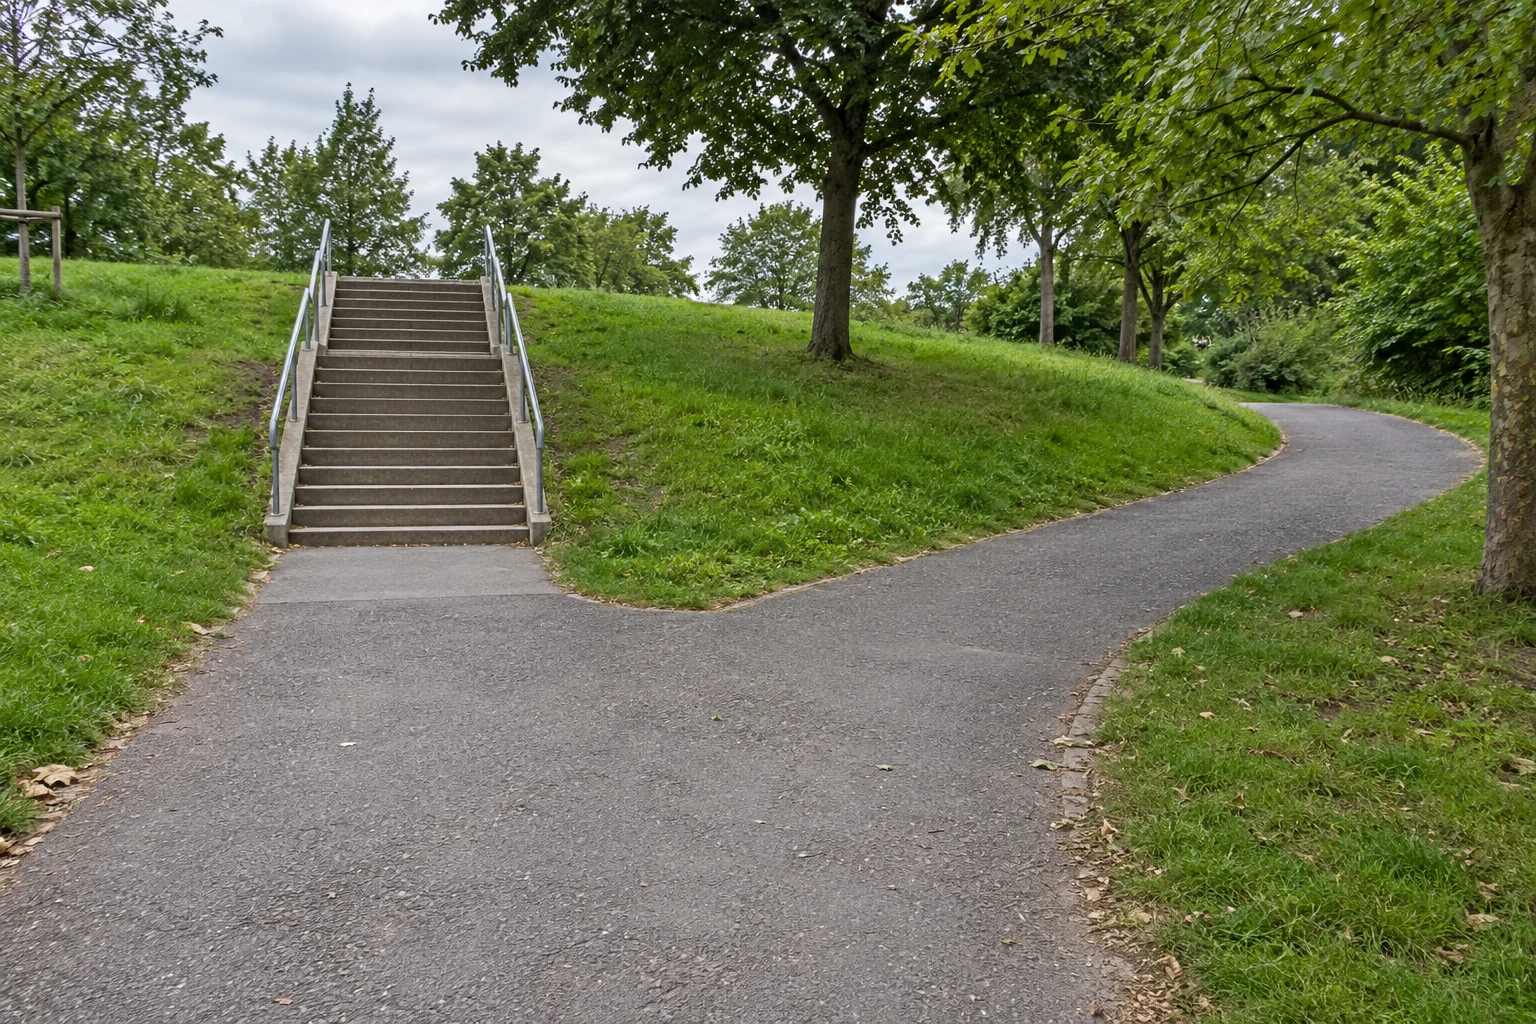
Choose a branch point before the stairs. Walk the proposed alternative through to the rejoin point, recording directions at every junction. Measure the bypass distance and the stair-route segment in the same units.
UK pedestrian guidance: alternatives
People who cannot use steps should have an alternative such as a lift or ramp.
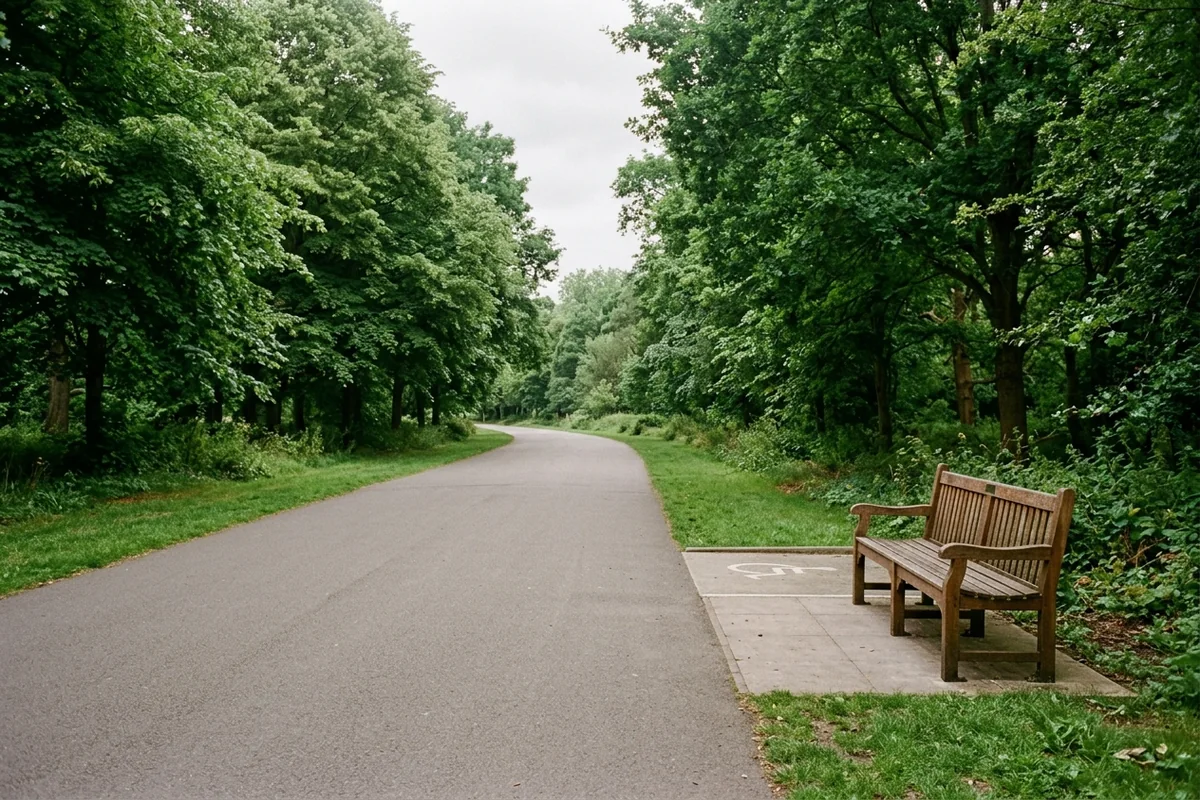
For your proposed step-free walking route, record the surface, narrow points, slopes, gates, crossings and access restrictions encountered. Photograph the branch and rejoin points. Describe any obstacles and measure their height. Include the steep sections in your notes.
Publish a bypass only after completing that walk-through. If you have not checked it, revise the planned route or describe the known stairs explicitly in the invitation.
Give walkers the route information
Trail accessibility information helps people with disabilities decide whether trail characteristics suit their abilities.
The assessment date is useful because outdoor conditions can change.
Date the record and describe the conditions when you checked. Revisit any section whose condition or access has changed before using the same notice again. For the surrounding route, continue with the outdoor accessibility audit checklist.
Copy this field record
Copy these prompts into your route notes and complete them during the walk-through. Attach the matching photographs and a junction sketch.
- Stair location and direction
- Landmark; approach; ascent or descent; position on the route sketch.
- Flights and steps
- Riser count per flight; total count; counting convention; rise measurements; tread depths; observed differences; clear width.
- Landings
- Top, bottom and intermediate landing dimensions; turn direction; obstructions; photographs.
- Left handrail
- Height and measurement reference; continuity; grip obstructions; start and end positions; visible condition.
- Right handrail
- Height and measurement reference; continuity; grip obstructions; start and end positions; visible condition.
- Steps and surface condition
- Visible damage; open treads; debris; water observed; photograph references.
- Bypass directions
- Branch landmark; junction instructions; rejoin landmark; bypass distance; stair-segment distance.
- Bypass characteristics
- Surface; narrow points; slopes; obstacles and heights; gates; restrictions; crossings.
- Assessment
- Date checked; observer; weather; route changes to revisit before announcing the walk.
Turn the record into a route notice
Lead with the stair location and the measured flight pattern. State the direction of travel and rail availability on each side. Follow with the bypass directions, distance and observed characteristics. Include the assessment date and a clear photograph of the branch point.
Before sending the invitation, compare it with your field record:
- Have you named every stair set encountered on the planned route?
- Have you kept the count per flight alongside the total?
- Have you described each rail through the turns and at the ends?
- Have you walked and described the entire proposed bypass?
- Have you included the observations a participant needs to decide whether to join?
Keep the completed stair record with the wider community event accessibility checklist, and publish the route details before asking people to attend.
Sources
- Department for Transport — Inclusive Mobility
- US Access Board — Outdoor Developed Areas